>> project / shipped
RG Solutions
A retro PS1-style horror game built for a VRChat game jam, featuring procedural world tiling, a navigable CLI, and a single 256×256 trim sheet.
- [vrchat]
- [game-jam]
- [udonsharp]
- [blender]
- [3d]
Retro Jam
RG Solutions is a VRChat game world that I created for Rollthered’s PS1 Challenge game jam.

The focus of the game jam was to create a retro-themed game within VRChat. The worlds would be part of a “demo disc” (not physical, but as a group), similar to the demo disks you would get with your PlayStation.
My initial thought process was to make something with a “horror” theme, but I didn’t want to make a traditional horror game. I wanted something unsettling — scary elements without horrifying imagery. The retro style helped with achieving this goal.
I unfortunately lost all of my Blender projects at some point so I can’t show a lot of the original development. However, I can cover the other aspects of the process.
🛠 Development
This was the first time I had ever actually started and “finished” a video game project. The concept was simple enough, the scope was realistic (scope creep still happened 😅), and I was able to get it done within the time frame.
This jam had two hard limits I was specifically focused on:
- No more than 15,000 polygons in the entire game.
- Limited to a single 256×256 trim sheet.
These limits presented functional constraints that meant I’d have to think outside the box. I wanted to make a larger or “open” world, but that ambition had to be trimmed down.
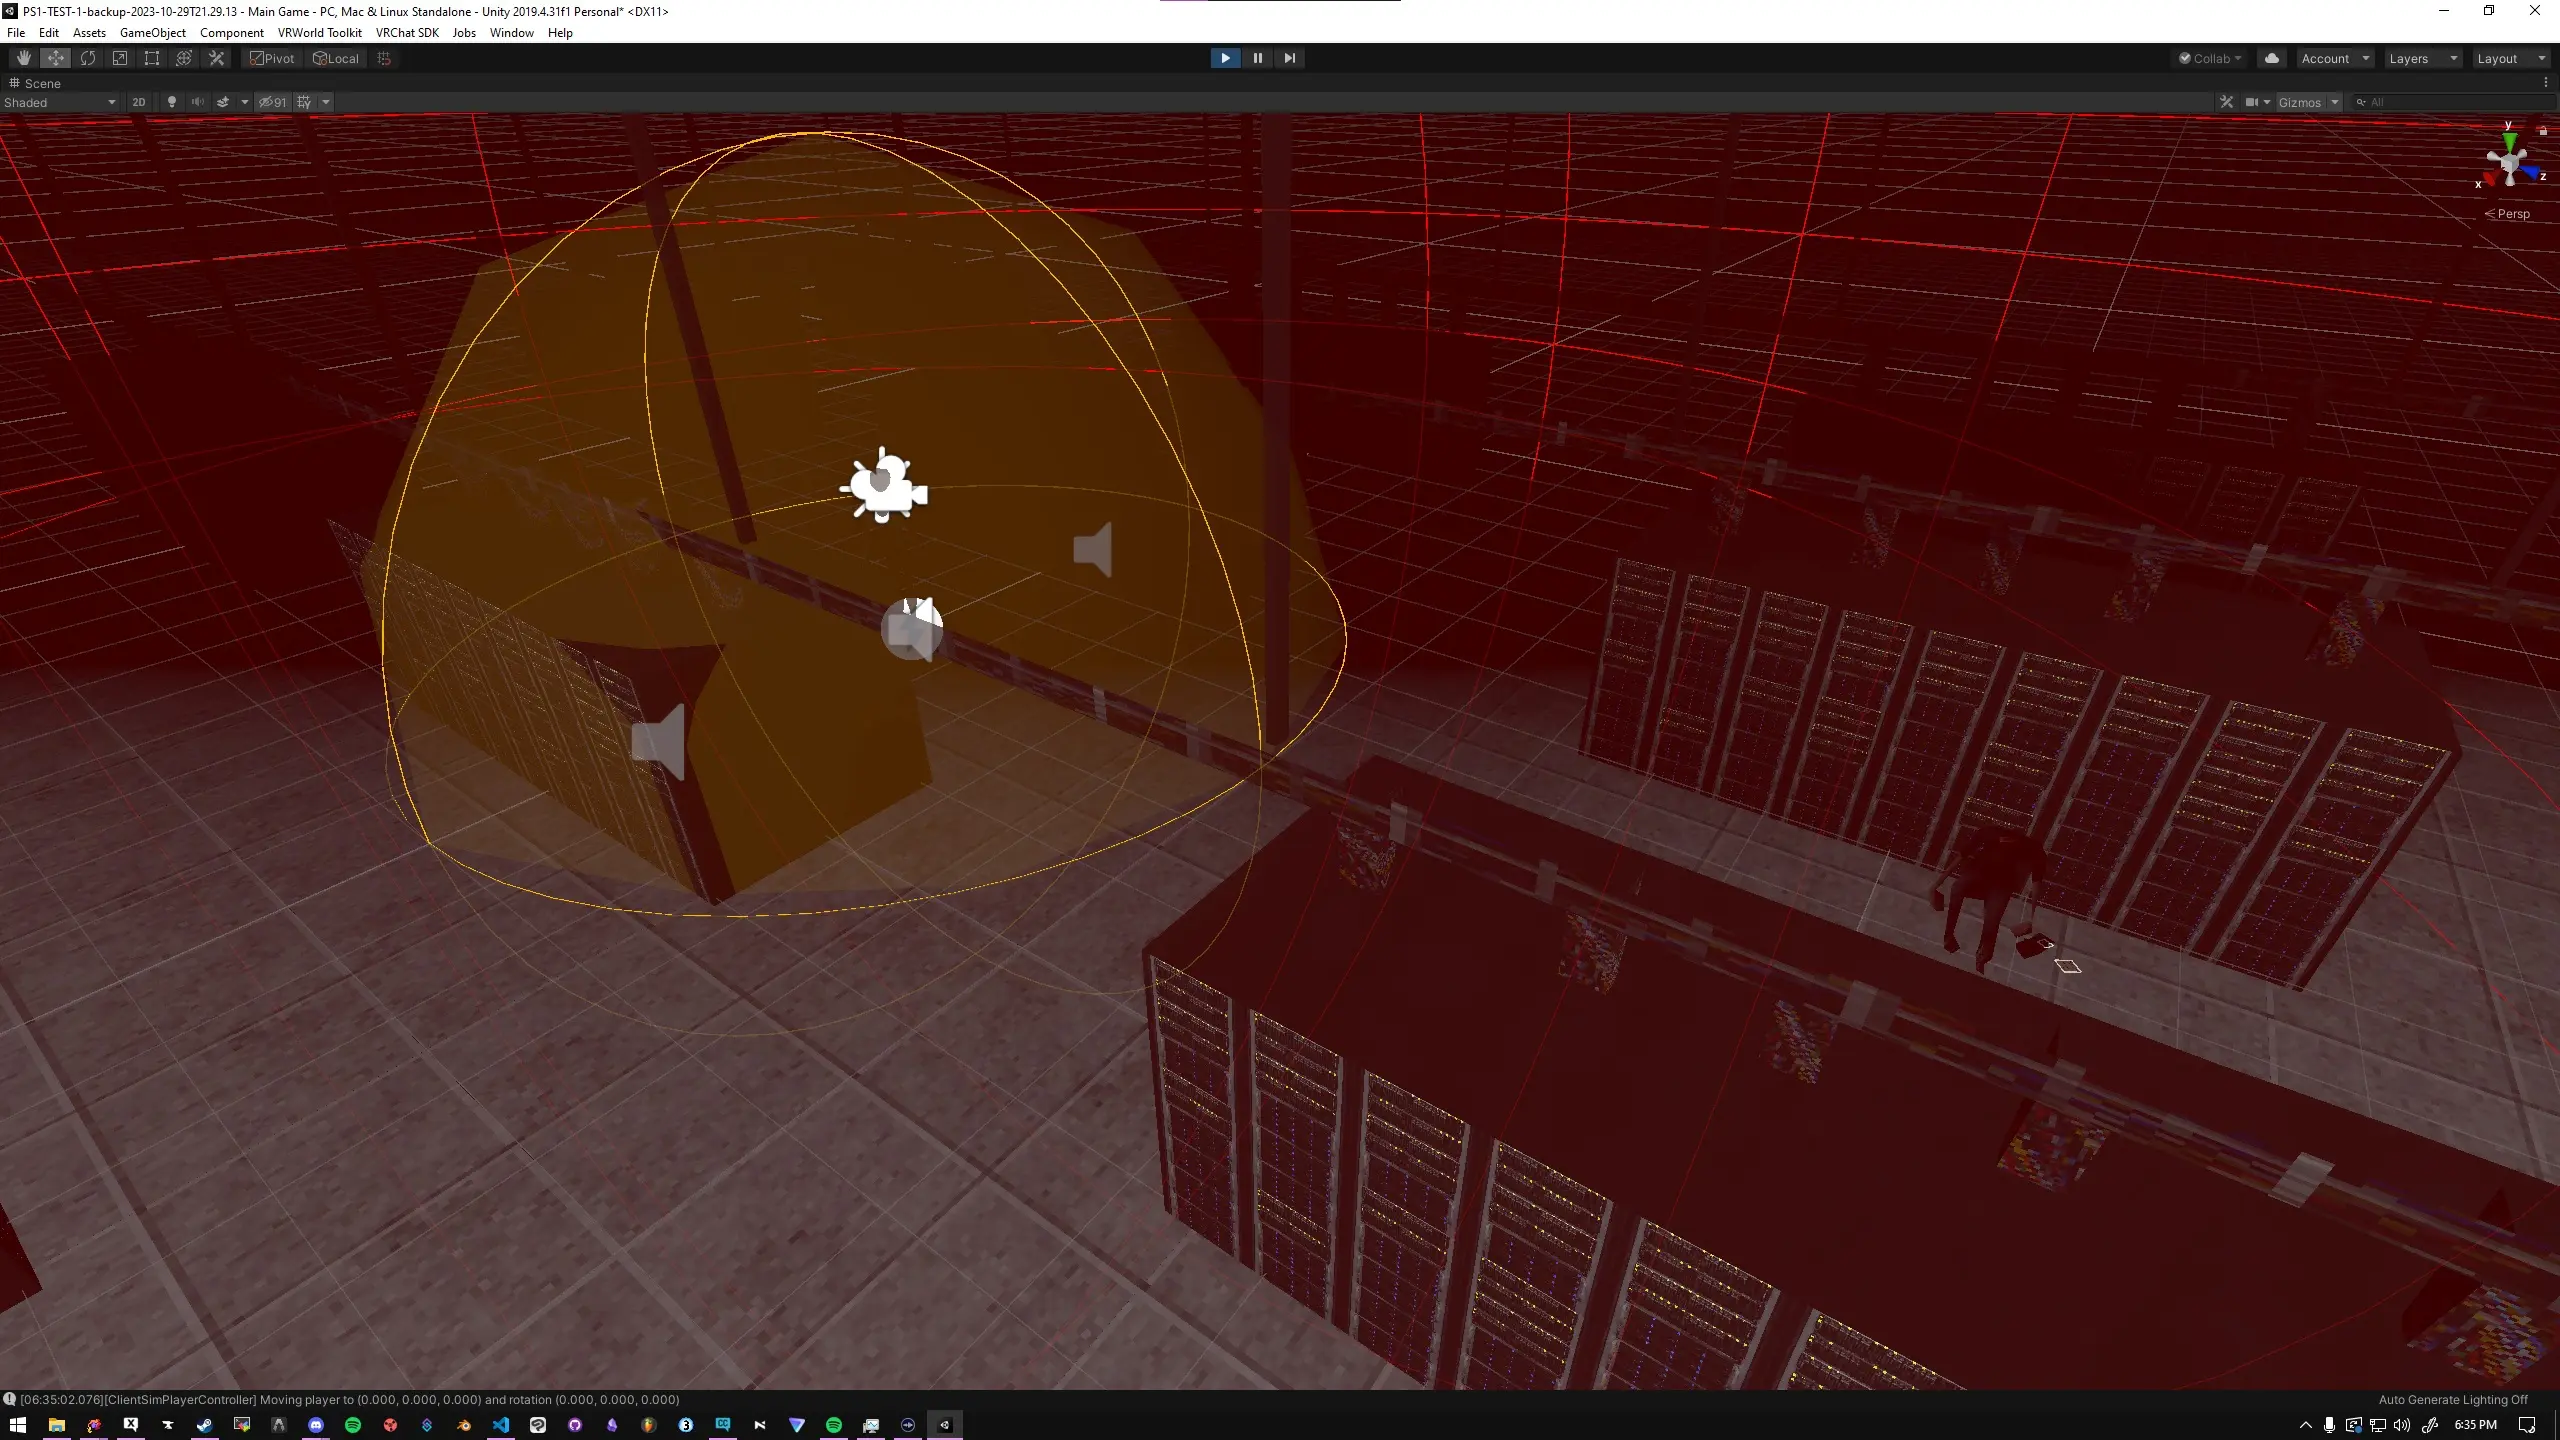
✨ Reusing assets!
I realized I could make a low-poly floor tile and tile it infinitely by moving tiles based on player position. Spawn/destroy wasn’t an option in VRChat anyway, so transform-based tiling it was.
This causes a rare bug where you fall through the floor while a tile is repositioning — physics doesn’t register the player capsule touching the floor mid-transform. Despite that, it worked well for both function and performance.
It’s limited to a 4×4 grid due to performance. Udon’s assembly makes tight loops expensive — I spent significant time reducing EXTERN call counts and optimizing the UASM. I probably could’ve gotten away with 6×6, but I also needed this to run on Quest.
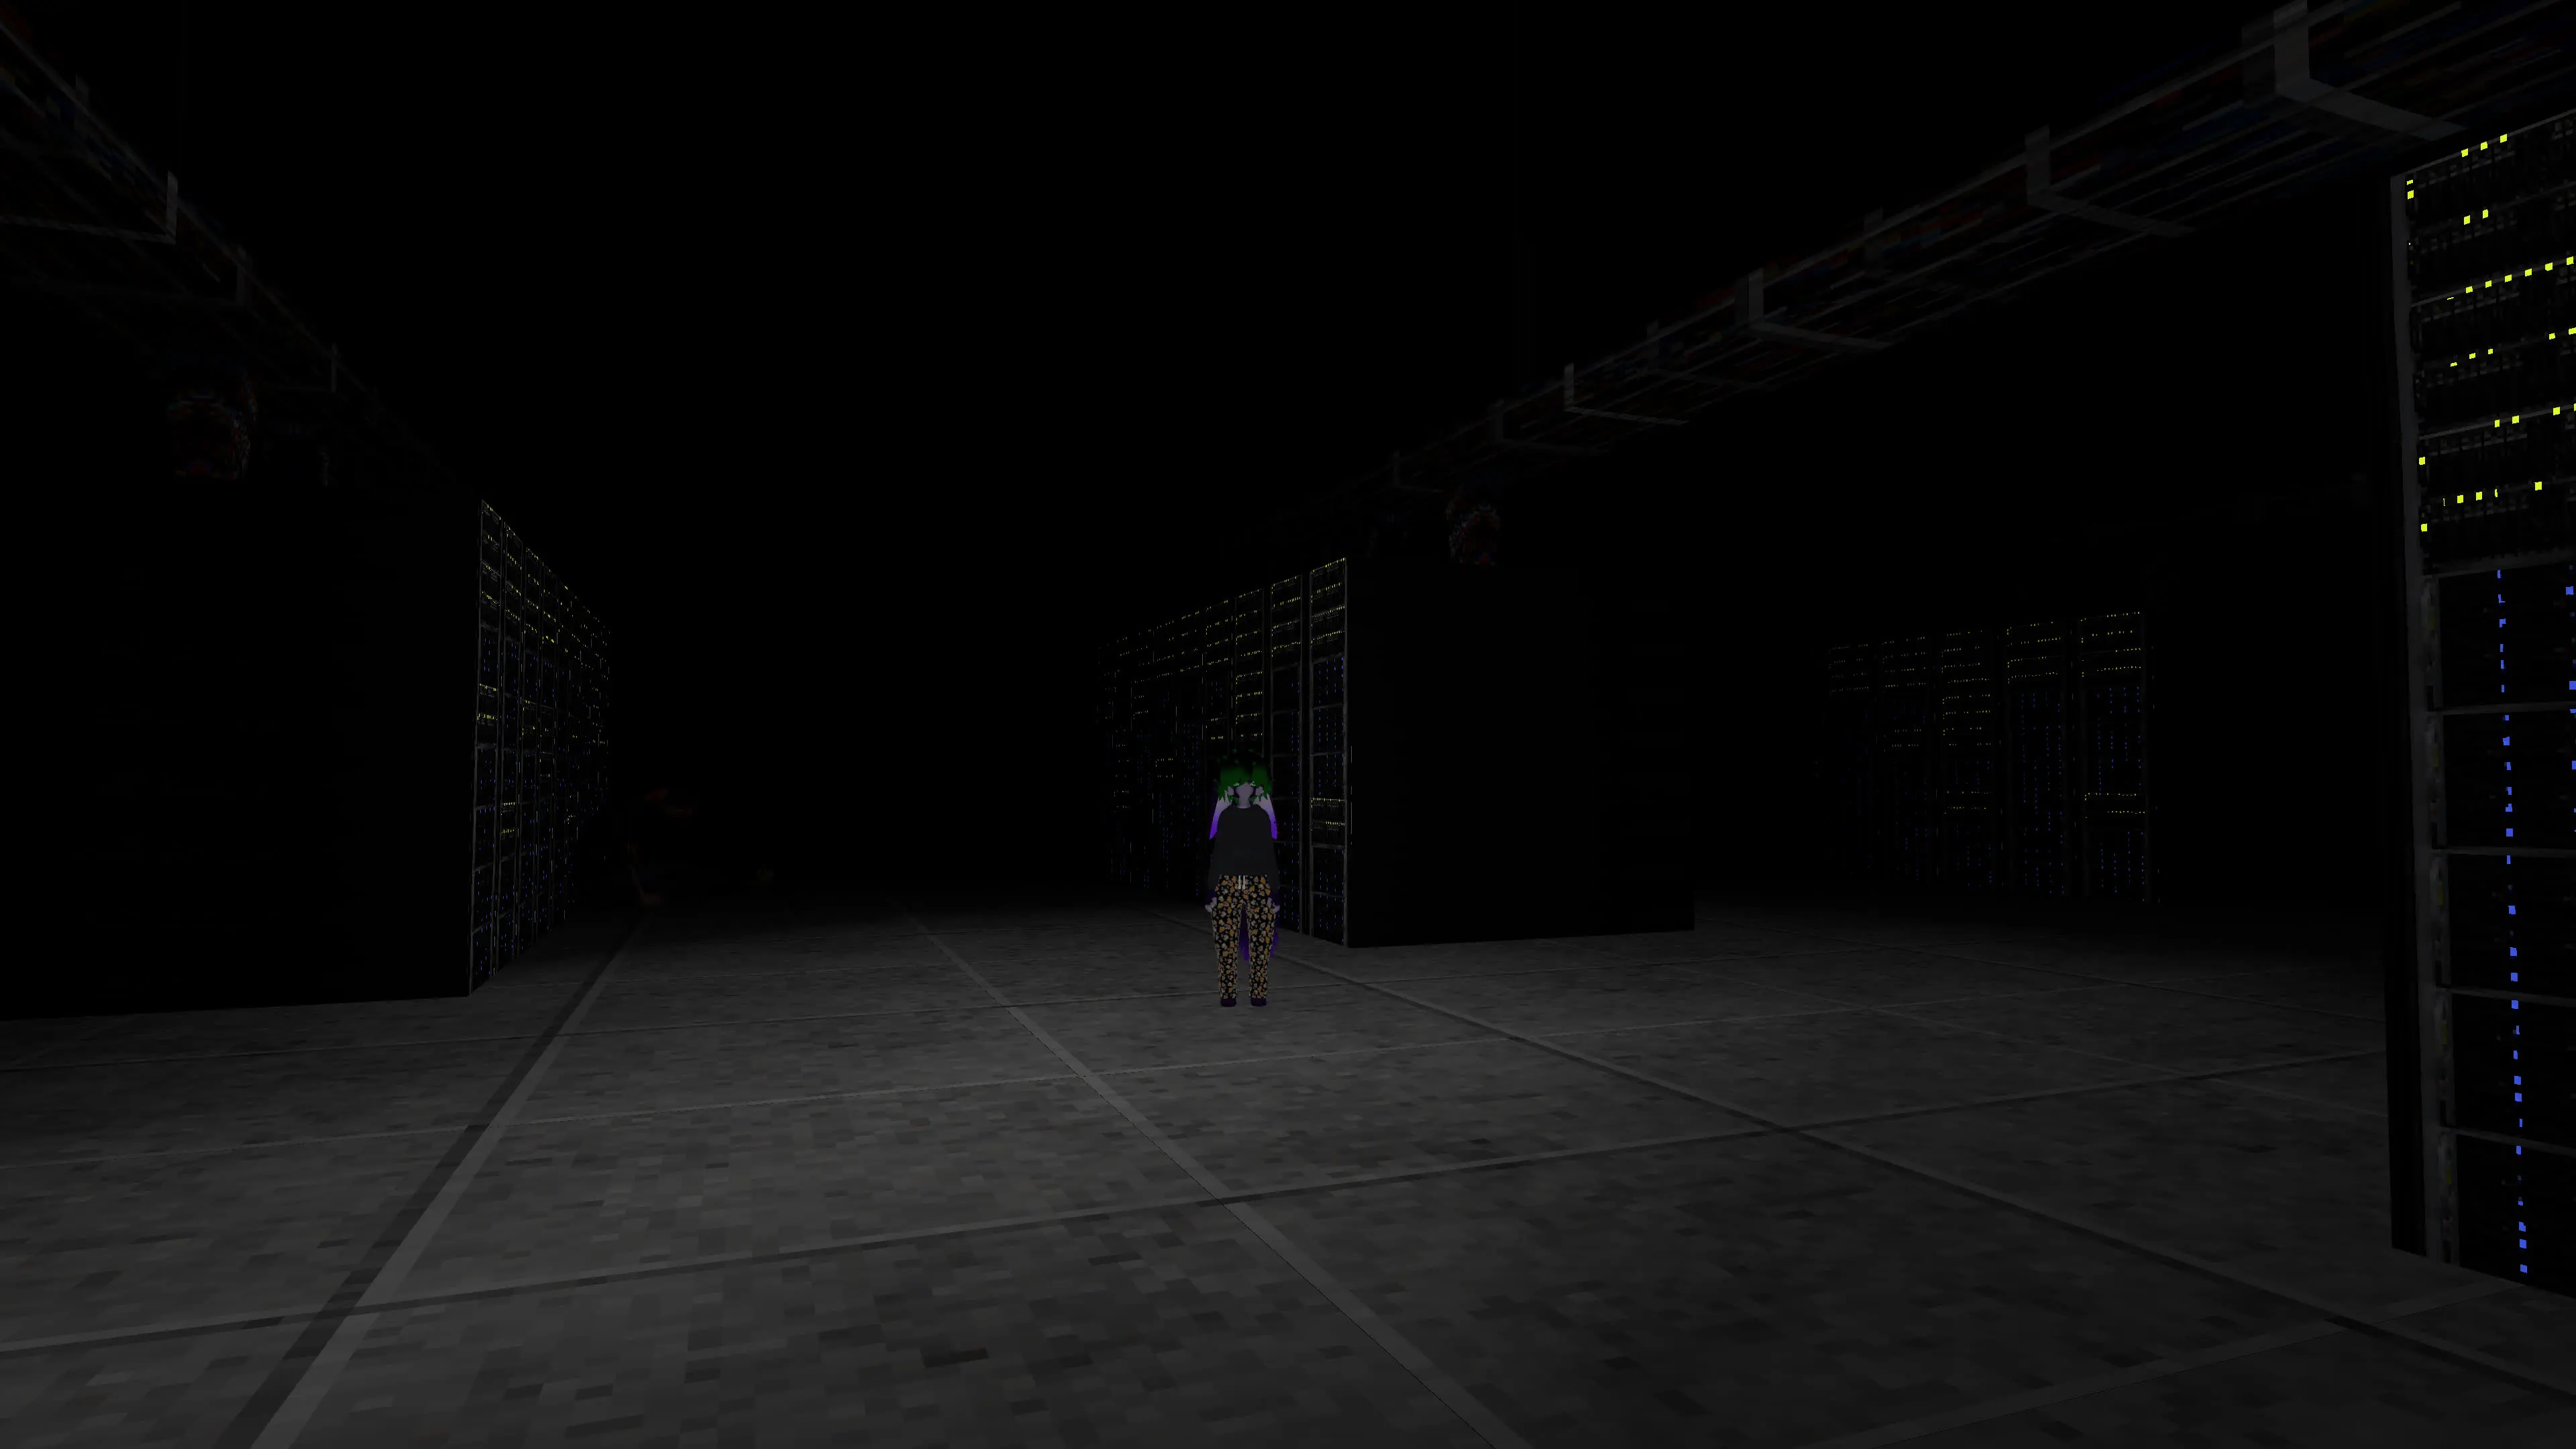
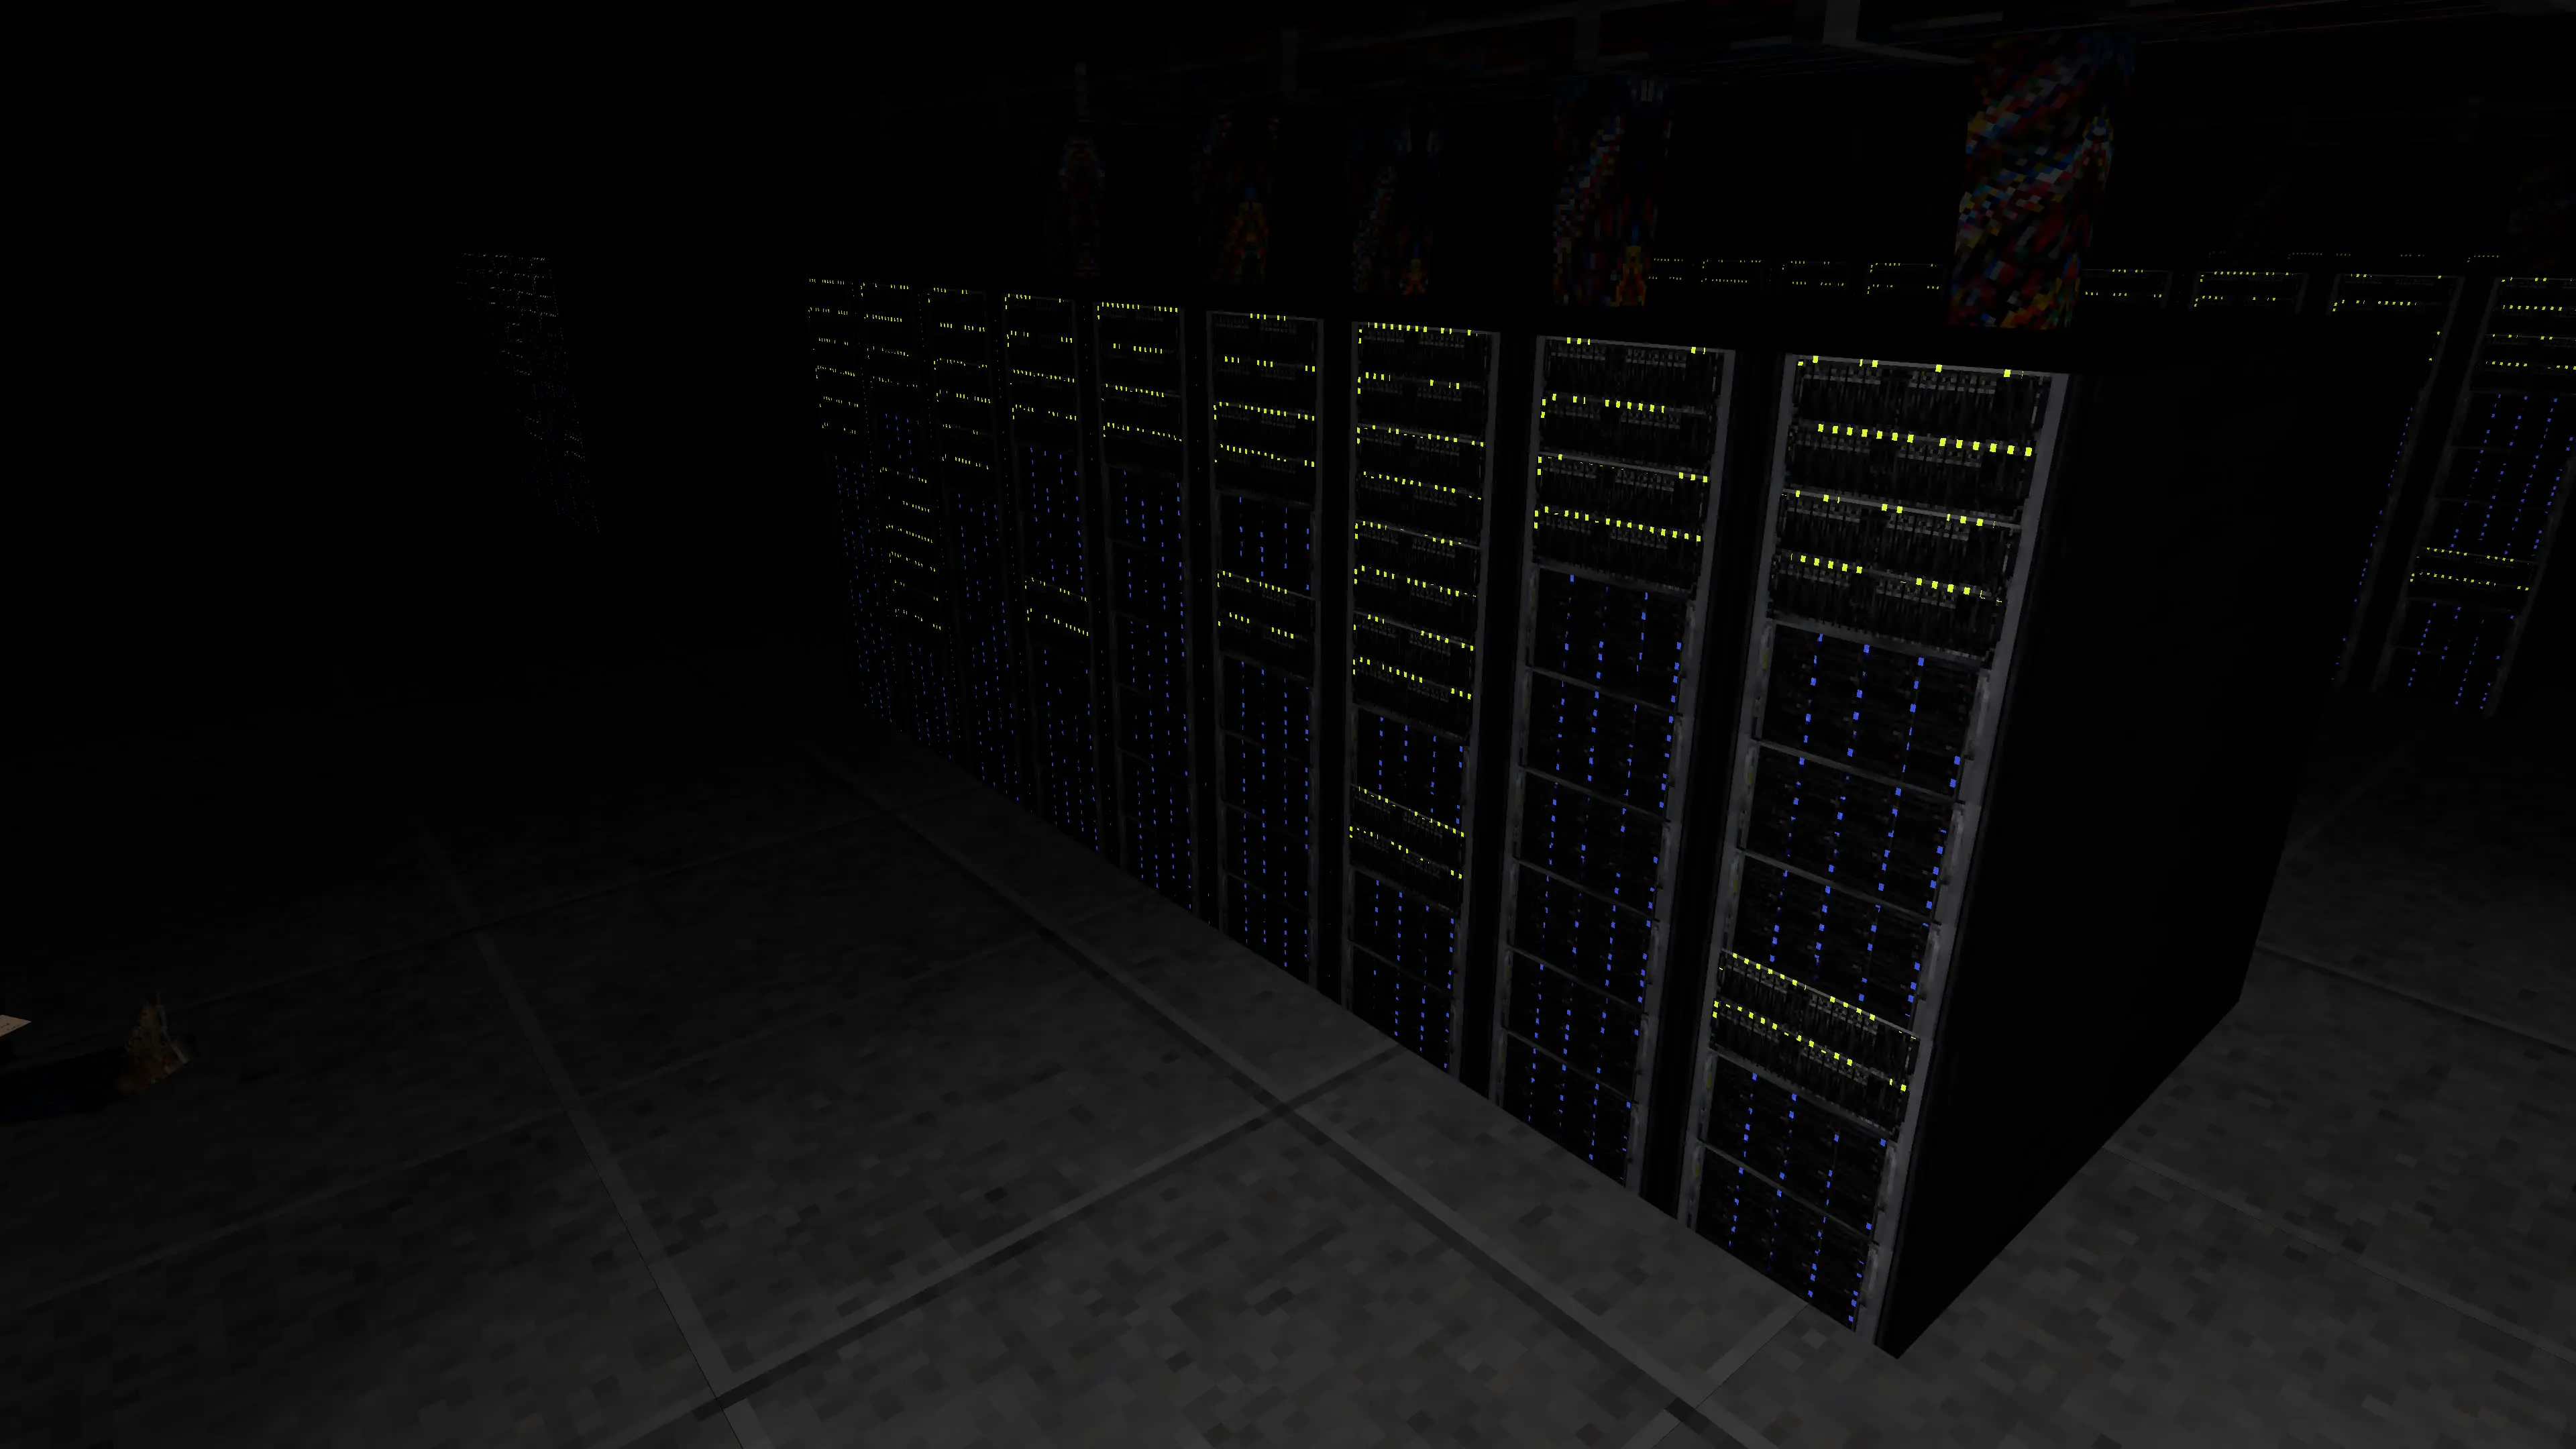
🌲 Environment
Creating the environment was relatively straightforward but also surprisingly challenging.
The models are low poly, so actually making them wasn’t necessarily difficult. What was difficult was designing assets with the trim sheet limitation in mind. Not only do you have to maximize the sheet to fit as much detail as possible, you have to design assets from the ground up with that constraint.
Through this challenge, I found a new process for myself. I used to be worried about optimizing from the get-go, but here I had to confront the fact that wouldn’t work.
What I settled on: design the thing with no limitations first, then apply the constraints and see what can be trimmed. This actually maps naturally to how most game/asset development works — start with high-detail models and bake down.
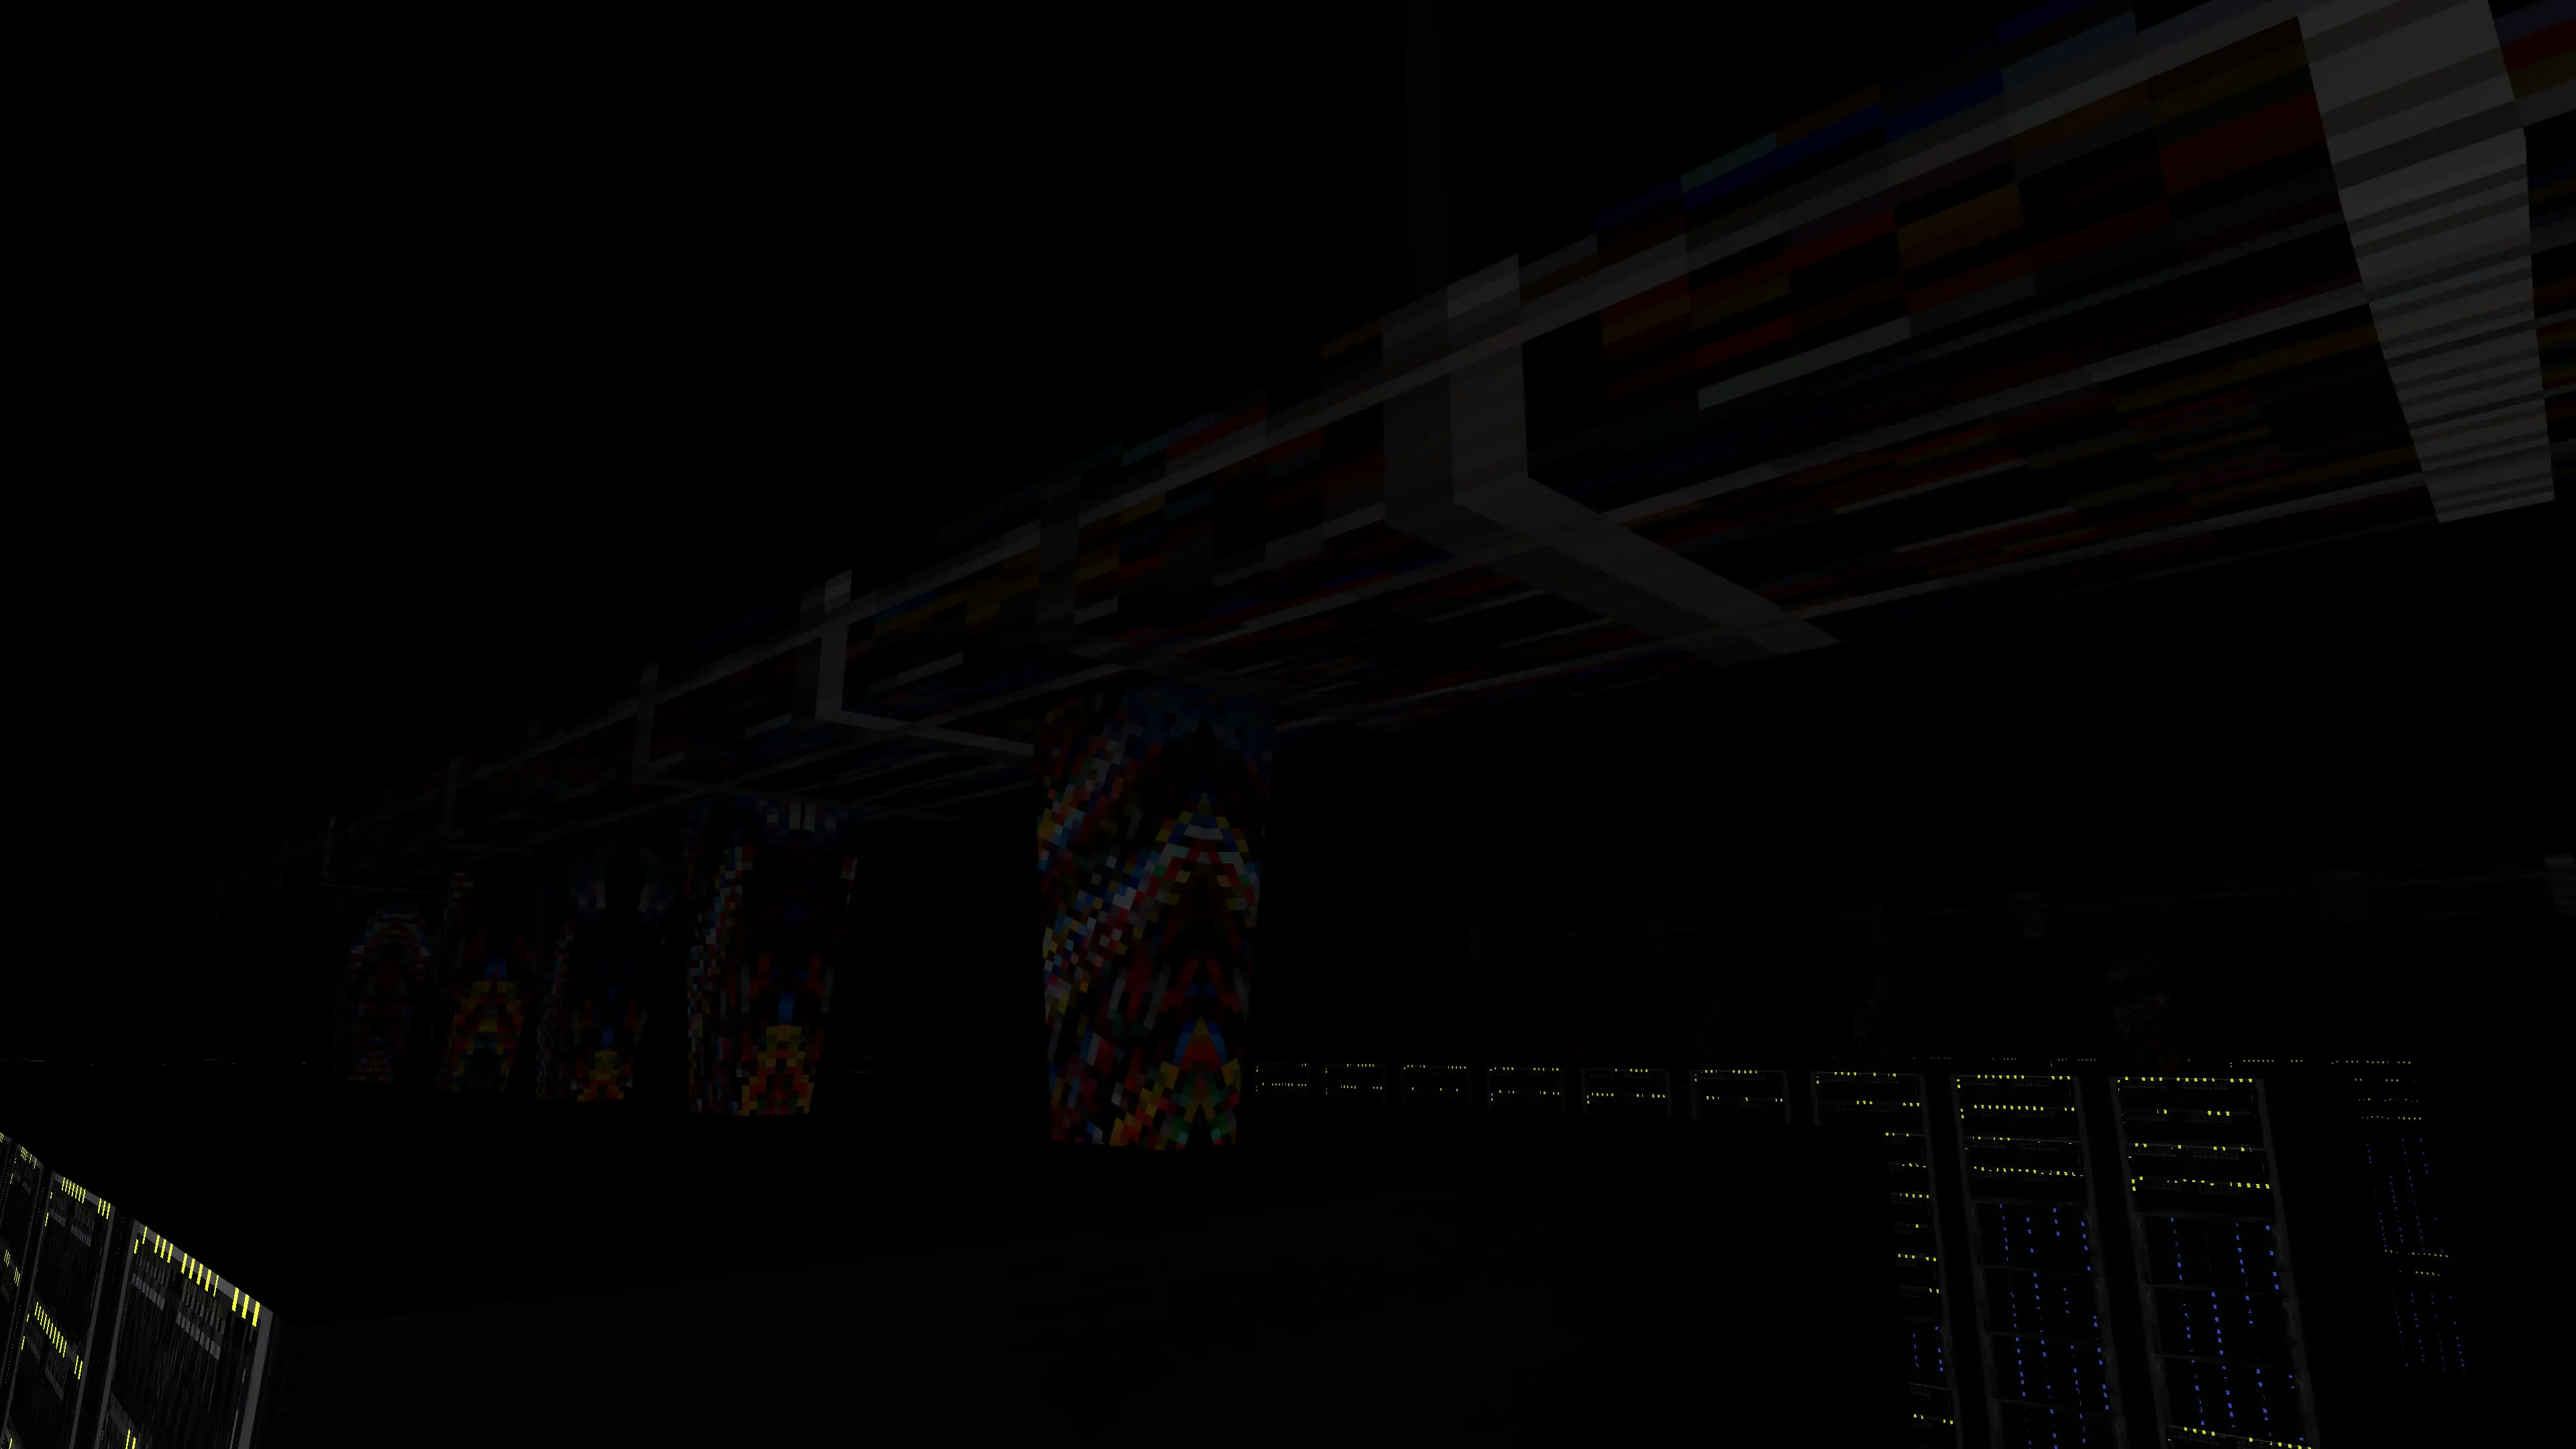
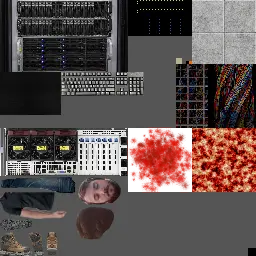
🖼️ Textures
The textures were the most fun part of the project.
Learning about how Mario 64 used its textures gave me the perspective that I could take basically any image or photo and crunch it into my texture atlas. After all of the optimizations to preserve atlas space, I was actually shocked at how much empty space I ended up with.
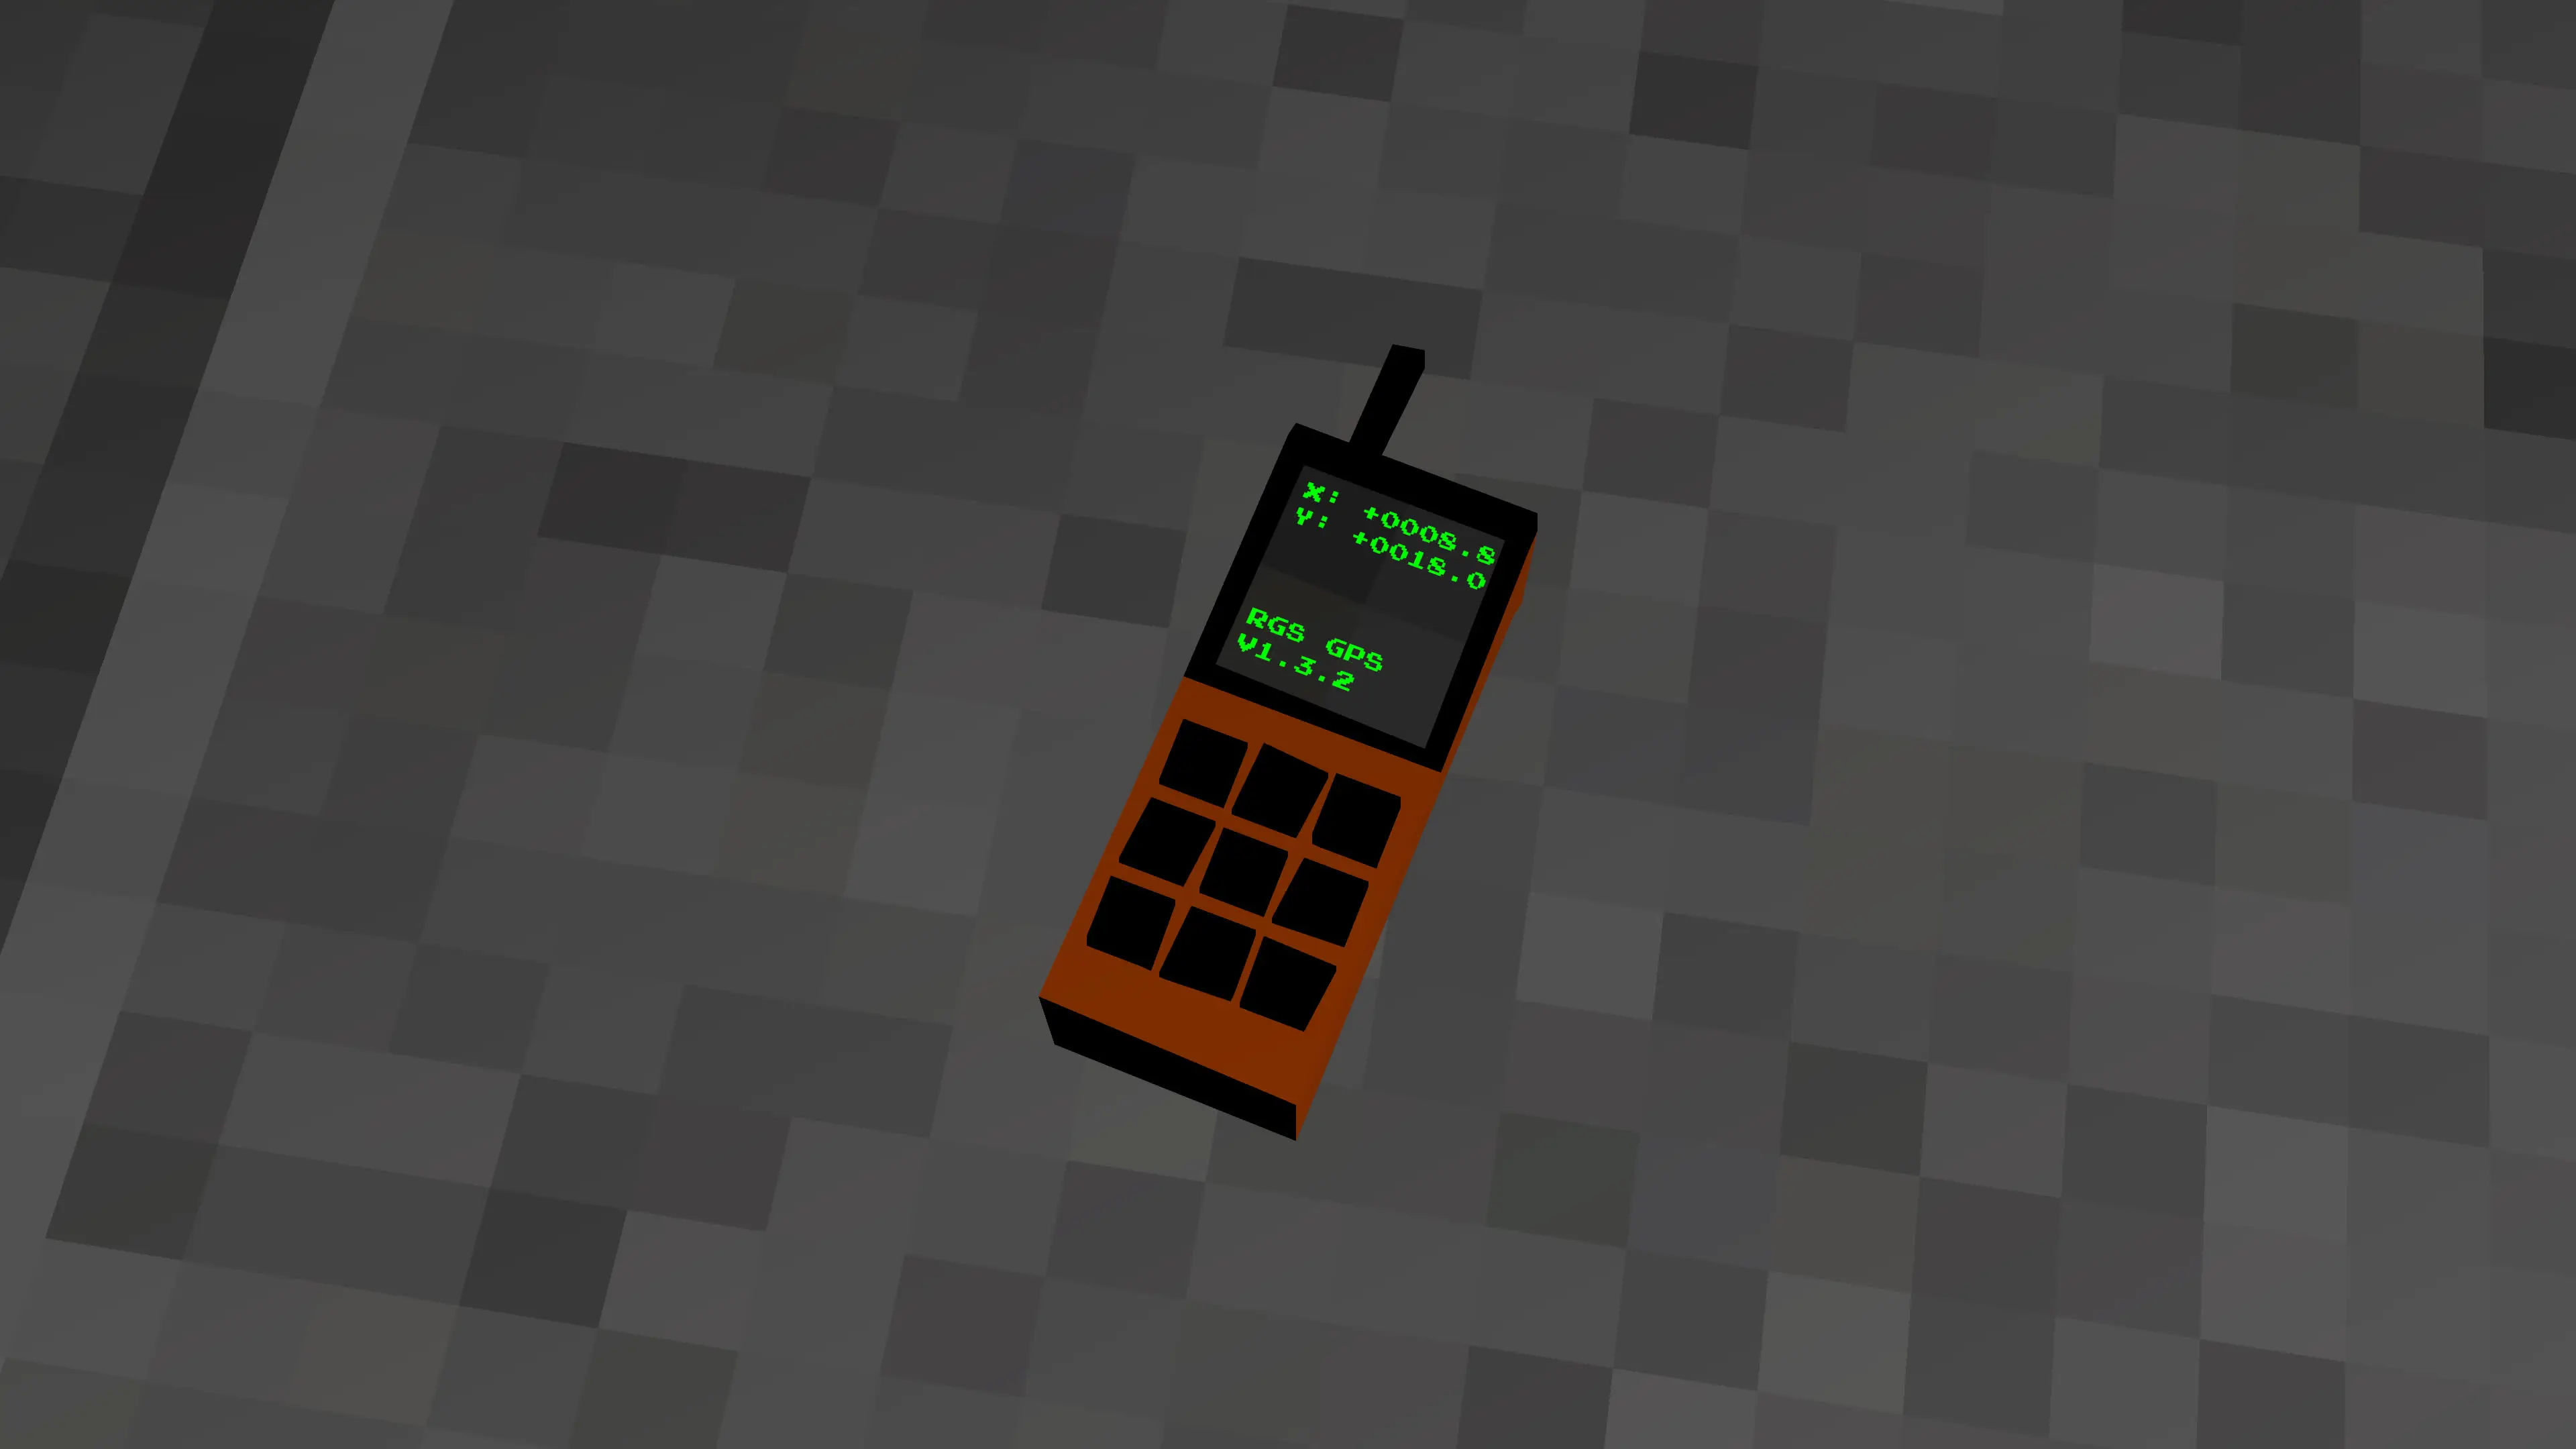
🖥️ The Console
I wanted the game to be interactive rather than just a walk-through of a spooky area. The terminal interactions are the real core of it.
To progress, you need to find all 6 consoles — each one’s location is hidden in the previous console’s filesystem. You navigate like a real command-line interface to learn more about the world and move forward.
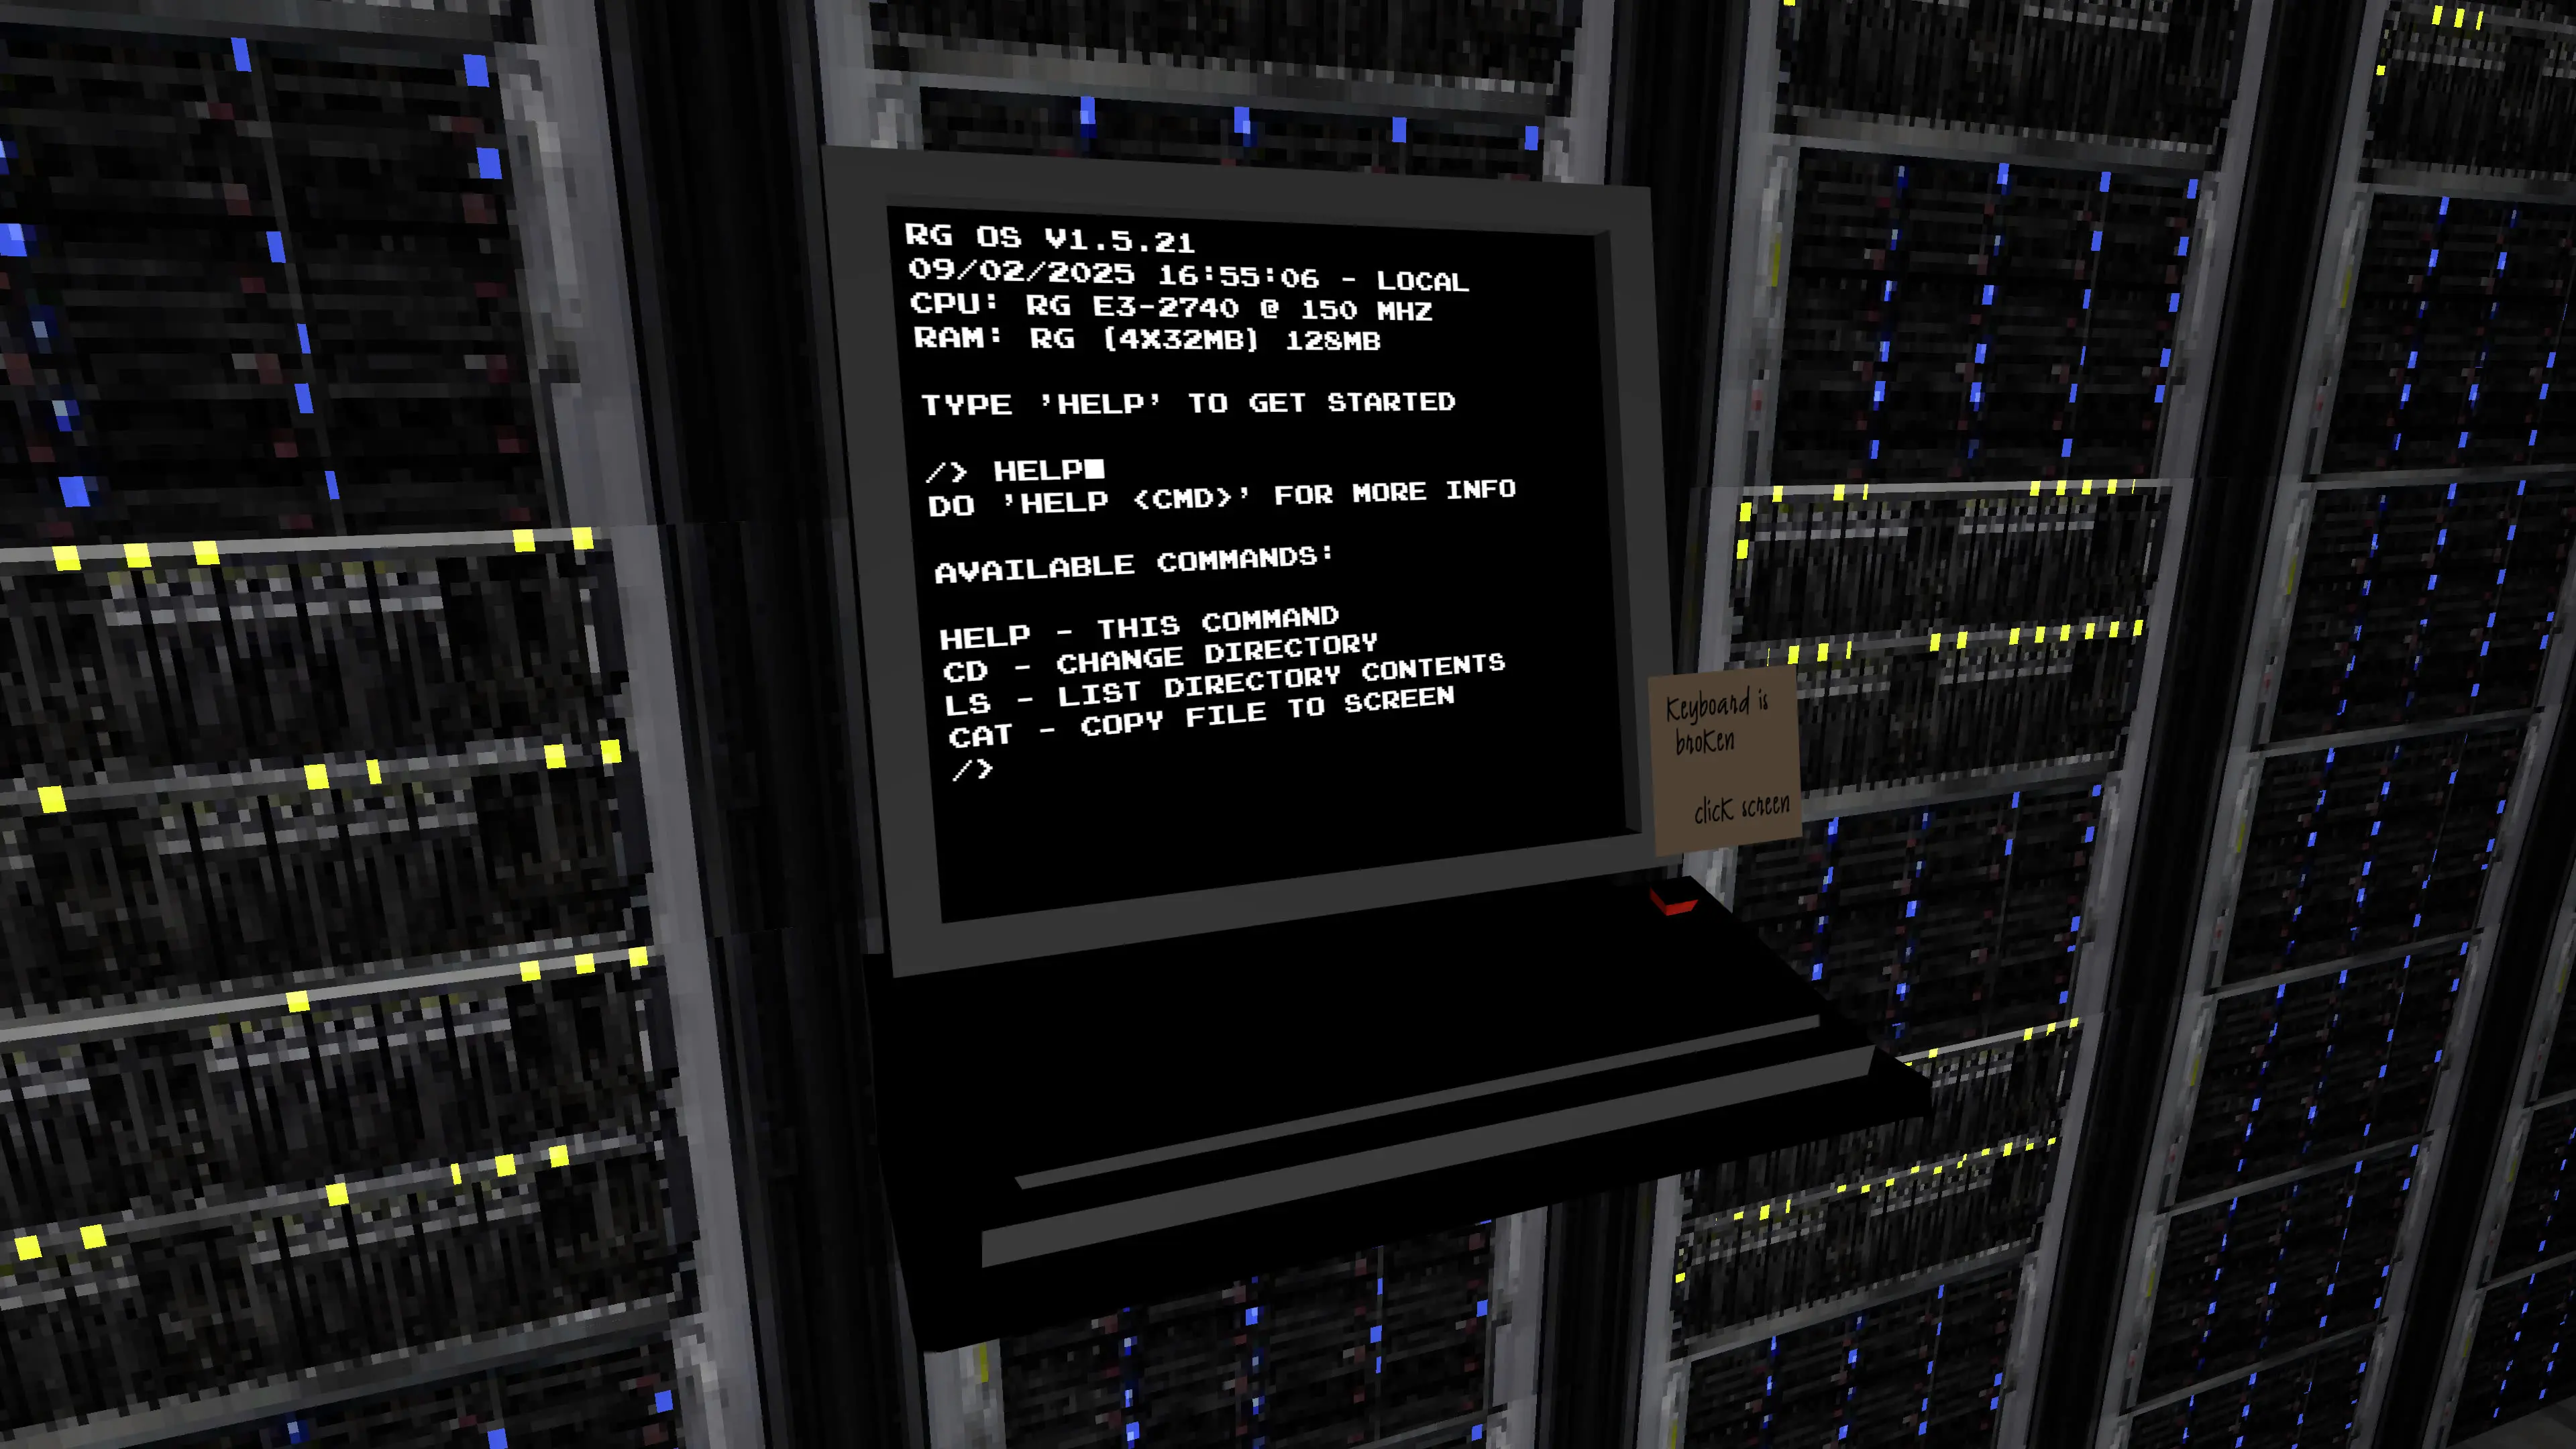
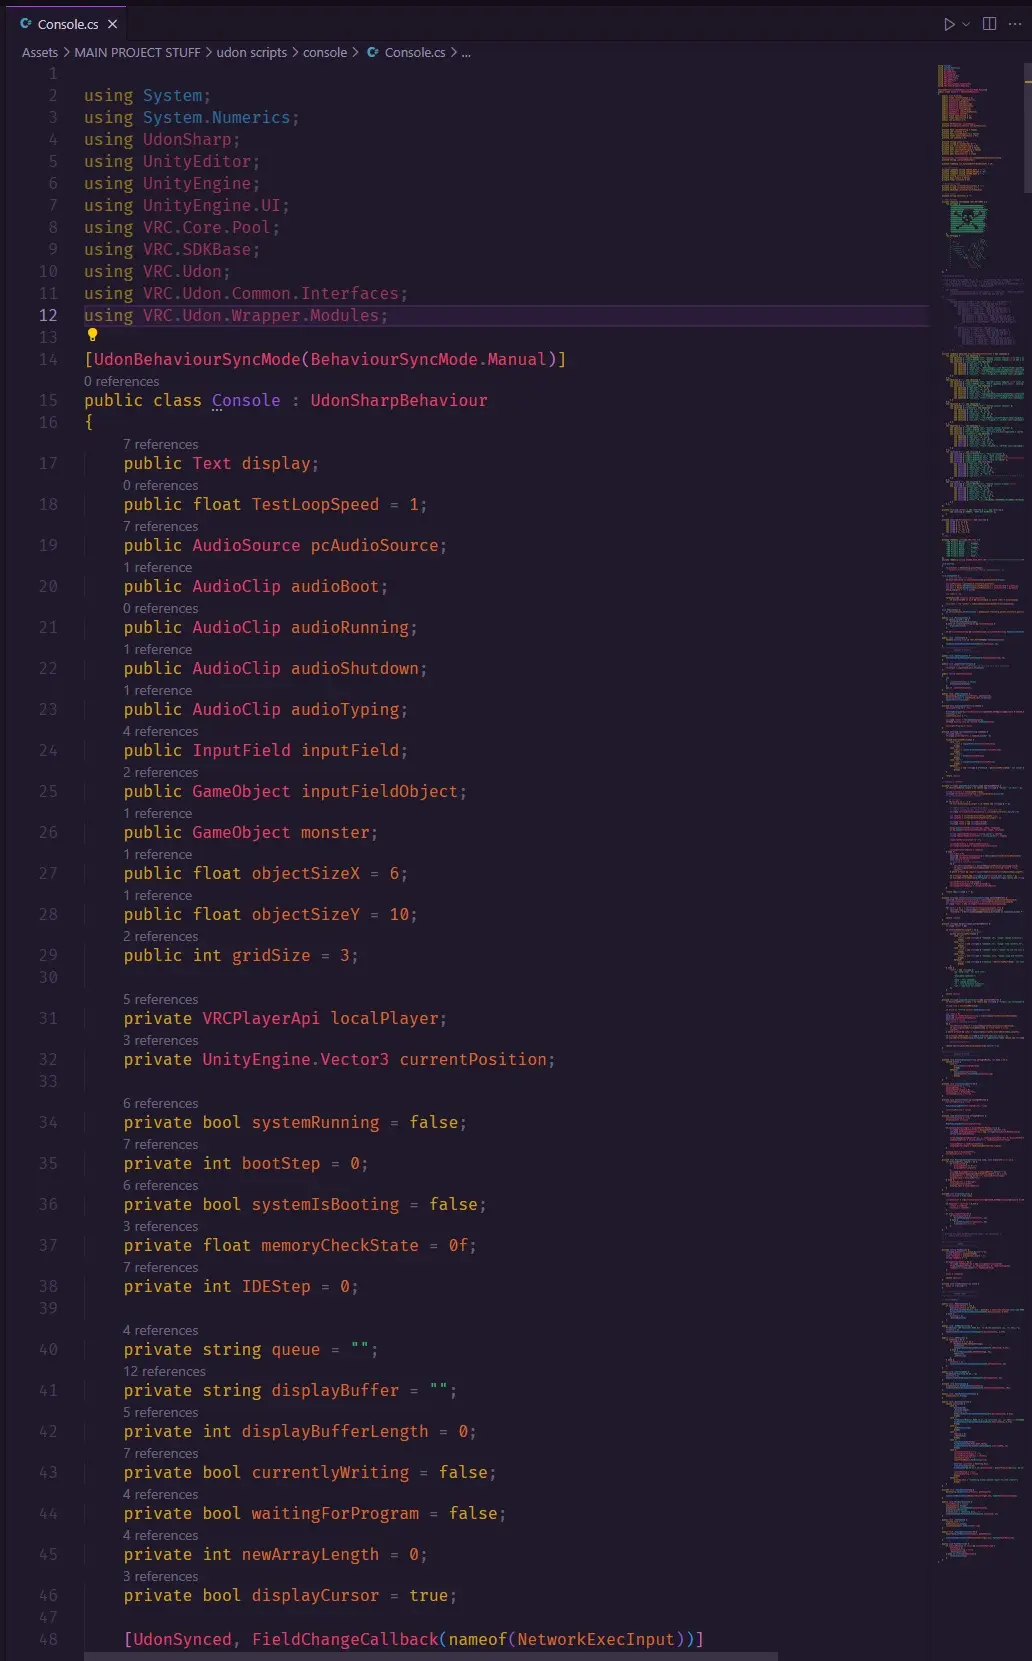
This included an interactable interface using the VRC keyboard and a navigatable filesystem. It’s not a real operating system, but the interface is extensible. As with all VRC projects, the entire console was programmed using UdonSharp.
✍️ Conclusion
This challenge provided a necessary set of hurdles. It was accessible due to the retro-styled nature, but it still proved challenging.
The best part was figuring out my own limitations, accepting some compromises, and then seeing how I could actually achieve more than I normally would — because I was forced to re-prioritize instead of perfecting everything. One of the few times I was able to entirely engross myself in something new and have a lot of fun with it.
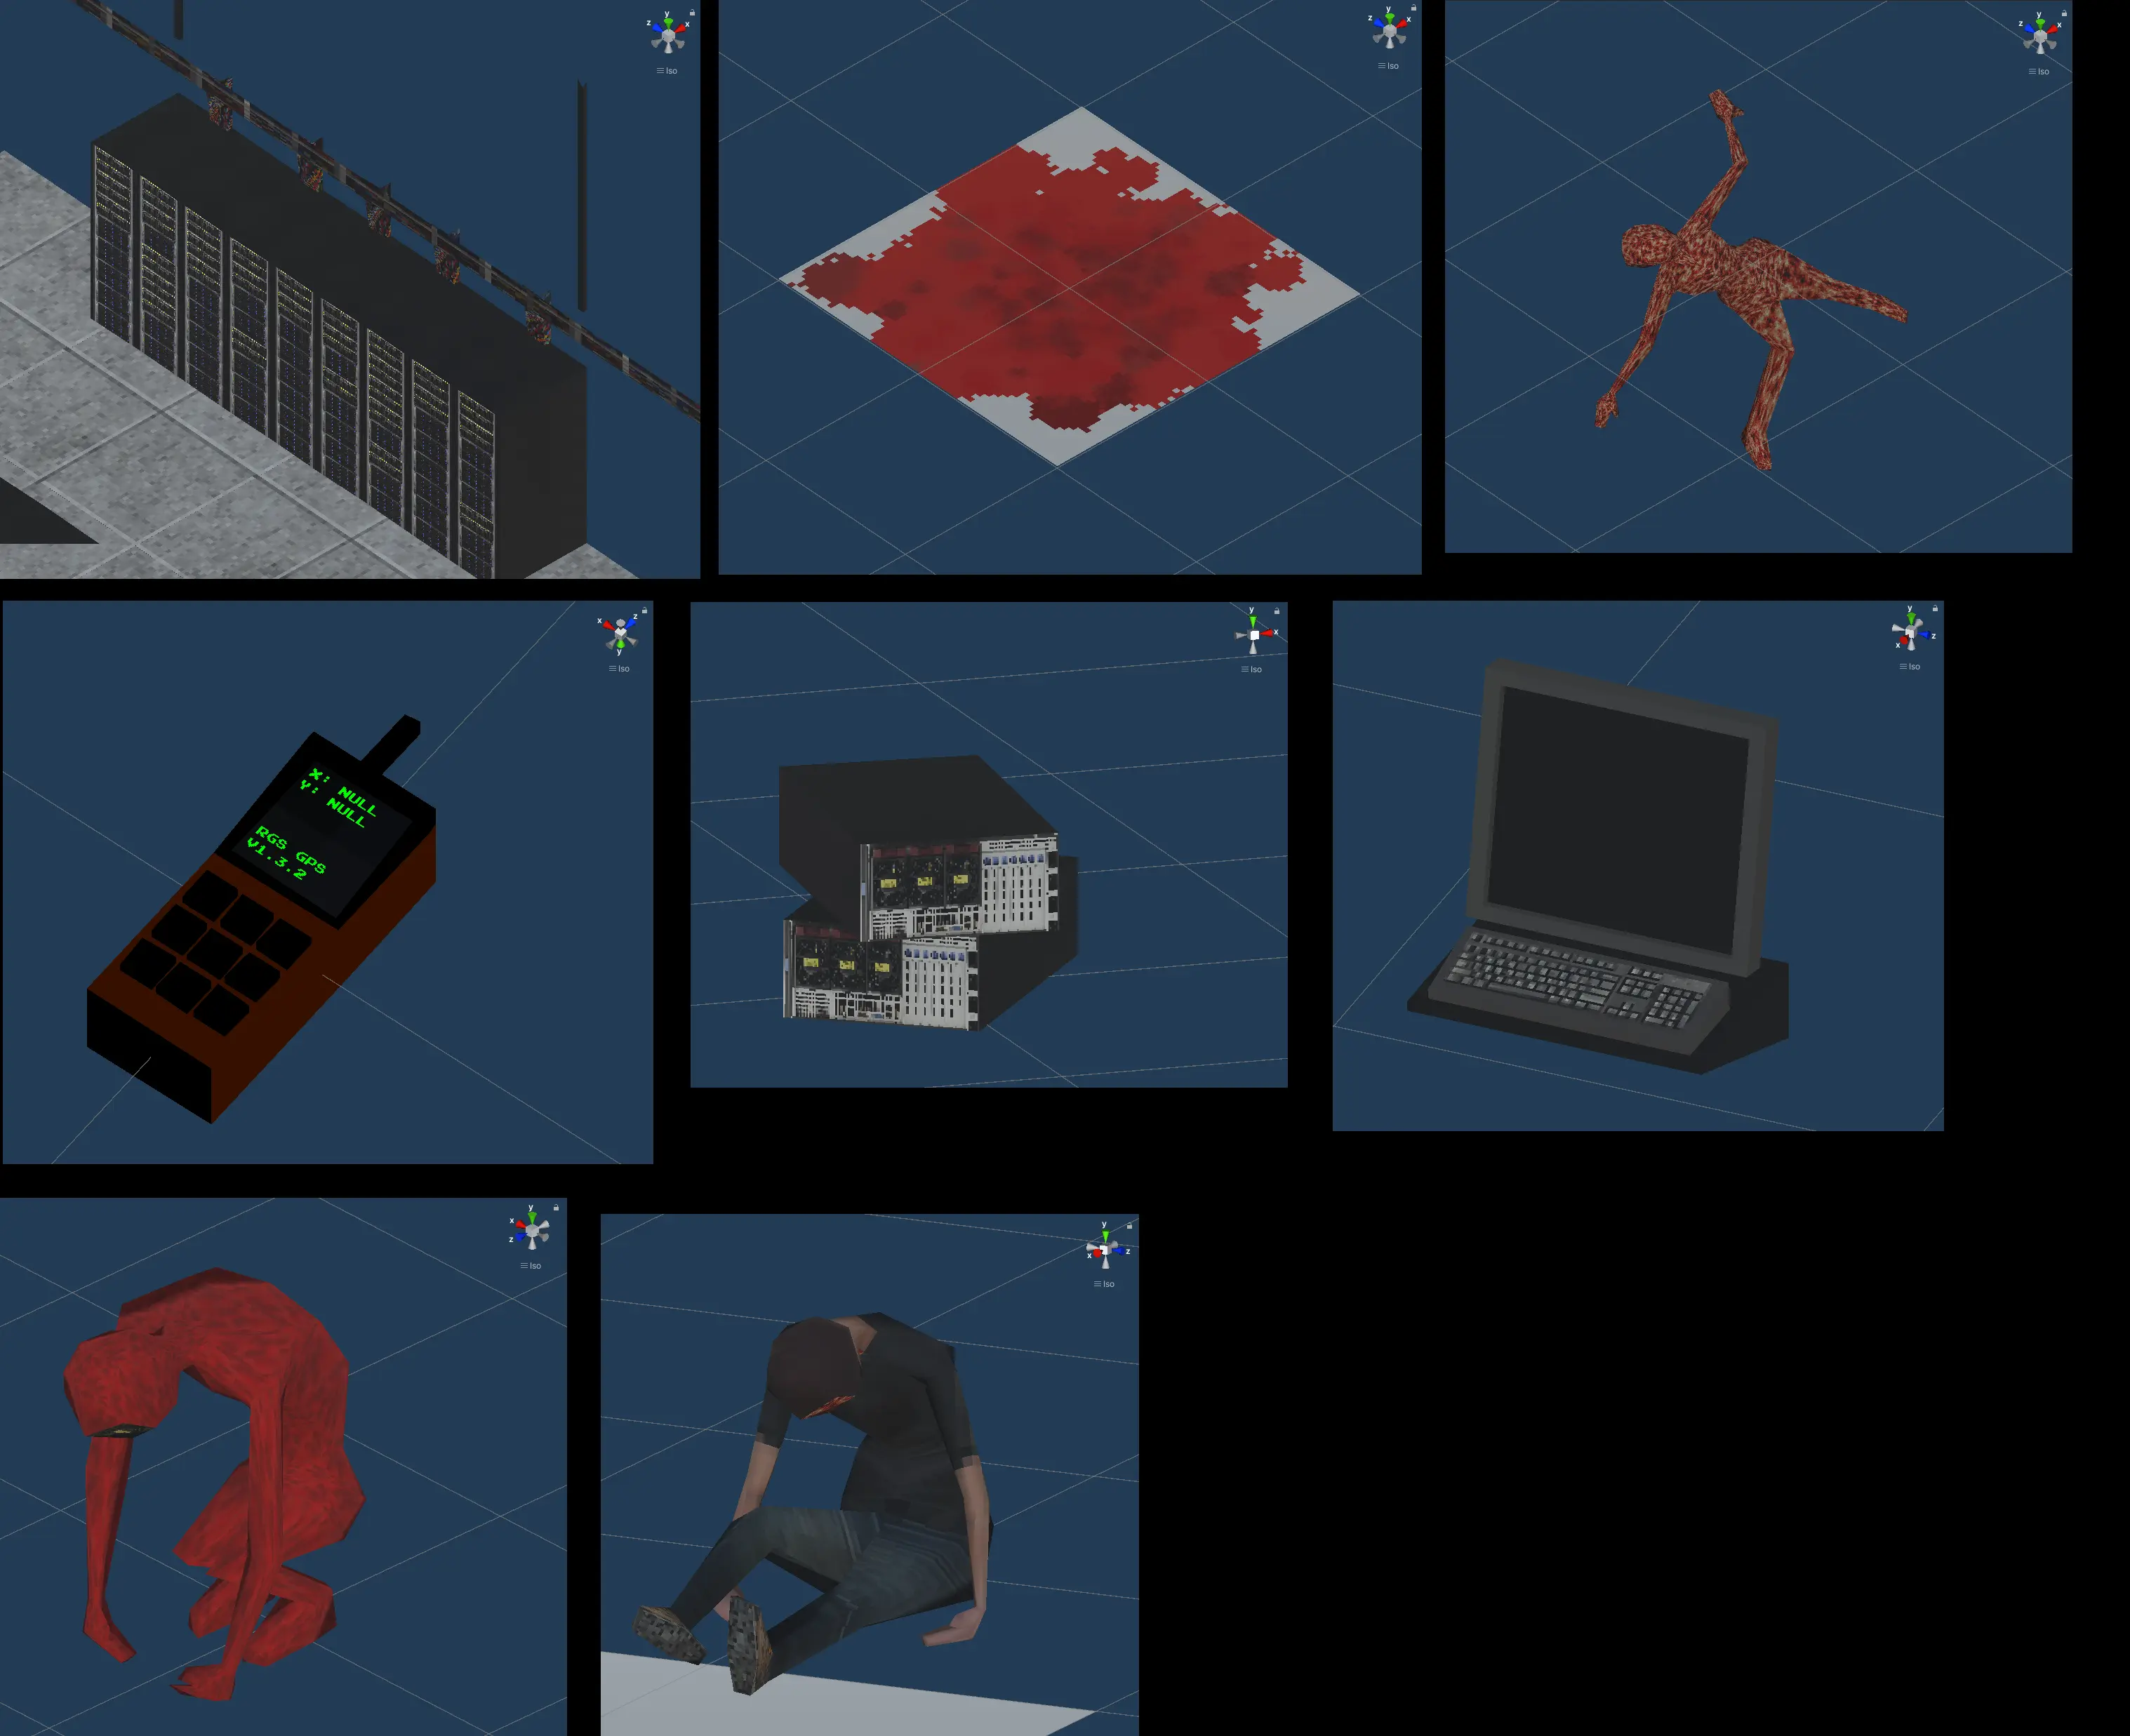
🖼️ Gallery